How to Open and Close Trekking Poles – Beginner's Guide
Trekking poles are one of those simple useful gears that can make a real difference once you are out on the trail. They help you with balance on uneven ground, take pressure off your knees on long descents, and give you a bit more stability when the path gets steep or slippery. Most hikers end up relying on them more than they expected, especially on multi-day treks.
A lot of beginners pull the sections out as far as they’ll go, and that little mistake quickly turns into a headache. The poles can refuse to slide back together smoothly, and you will end up fiddling with them instead of walking. In this short guide we will walk you through the proper way to open, adjust length, and shorten your poles again. Once you know the simple sequence, the whole process takes only a few seconds and saves you from the usual frustration on the trail. Let’s get the technique sorted so your poles work for you instead of against you.
1. How to Open the Trekking Pole
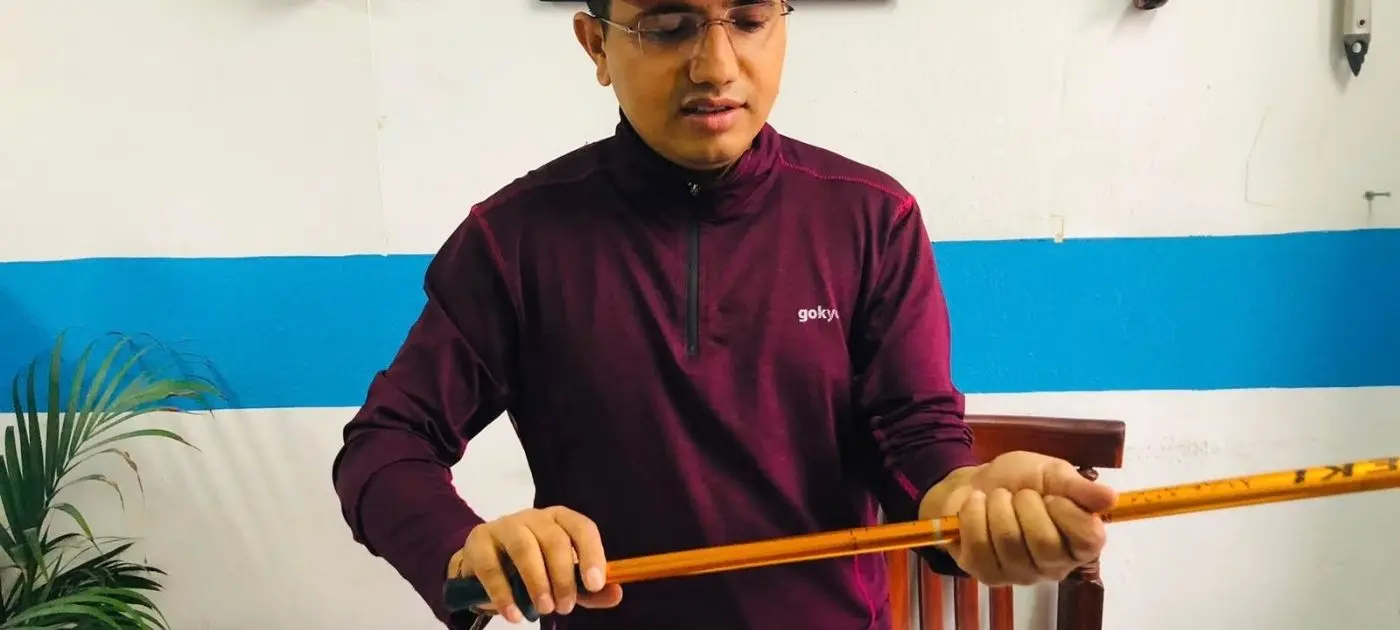
Start by holding the pole firmly near the first section. Turn the section anticlockwise to loosen it. Once it becomes loose and smooth, gently pull the section upward.
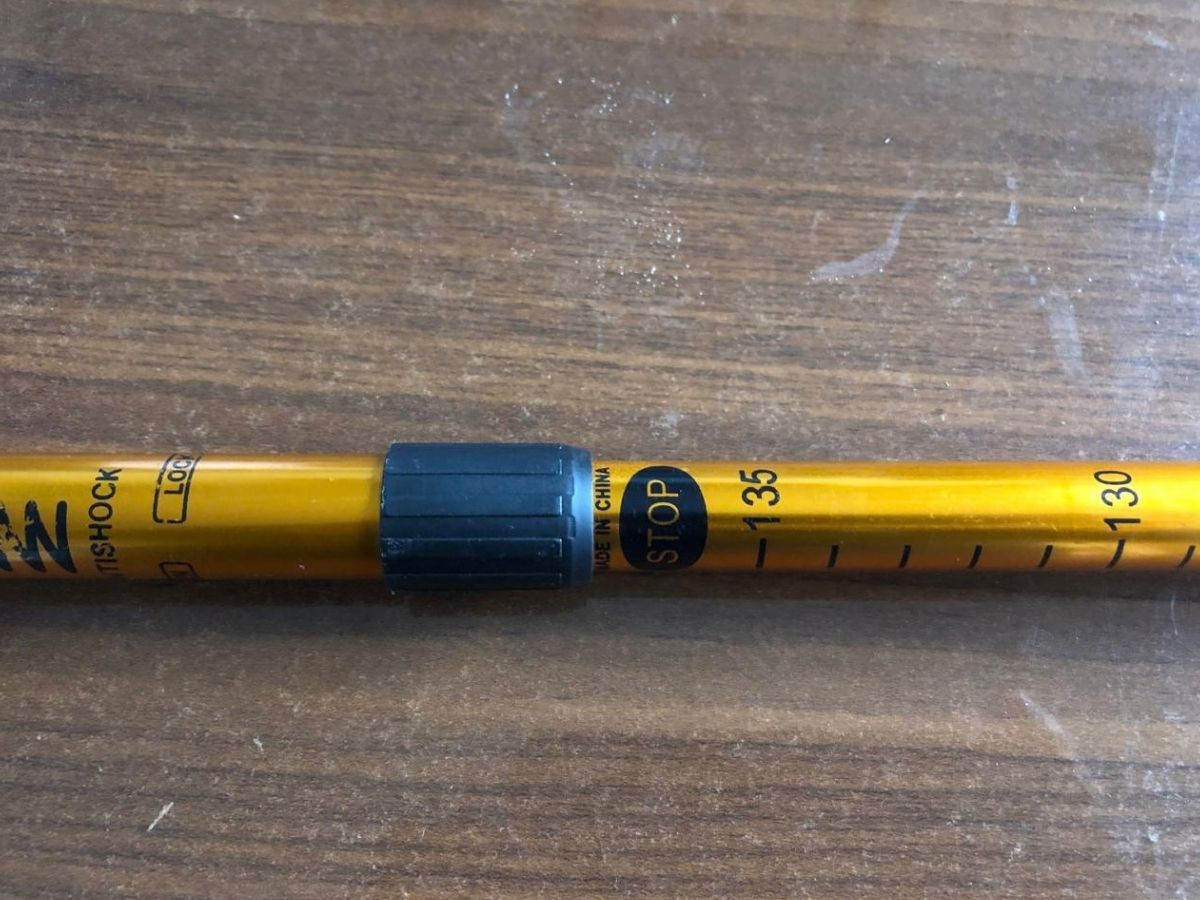
Important: Do not pull the section all the way out. You will notice a stopping point on the pole. When you reach this “stop”, do not pull any further because the section can come completely out, making it difficult to put back inside.
When you reach the stopping point, gently push the section slightly and rotate it clockwise until it becomes tight enough to use.
2. Adjusting the Lower Section
The lower section works in the same way. Hold the pole and turn the lower section anticlockwise until it becomes loose. Then gently pull it out.
Again, you will see a stopping point. Do not pull beyond the stop. Pulling the section completely out can make it difficult to insert again.
Once you have reached the suitable length, push the section slightly back inside and turn it clockwise to make it tight.
3. Adjust the Pole According to Your Height
You can adjust the trekking poles depending on how comfortable you want to feel or based on your preferred height. Most poles have numbers marked on the sections so you can easily match both poles. When you find the length that works for you, stop there (again, don’t pull all the way out), and tighten by turning section clockwise until it’s firm or secure.
4. How to Close the Trekking Pole
When you’re finished for the day, just reverse the process and store it.
First, hold the stable part of the pole and turn the adjustable section anticlockwise to make it loose. Once it becomes loose, push the section back inside. Once it’s in, turn clockwise to lock it.
Follow the same process with the lower section: anti clock wise to loosen, push in, clock wise to tighten.
5. The Most Common Mistake to Avoid
The most common mistake beginners make is pulling the pole section completely out after loosening it. When you reach the “stopping” point, you should stop pulling. If you pull beyond the stop, the section may come out completely and also may leave you struggling to get the piece back in.
Quick reminder:
- Anticlockwise = loosen
- Then pull or push to adjust
- Clockwise = tighten
With this simple method, you can adjust your trekking poles according to your height and use them safely and comfortably during your trek.
Hope this helps if you’re new to trekking poles. Have a safe trekking journey and thanks for watching. Feel free to share if it was useful.